This post is for so many of the people in the community asking for and having problems installing Kali Linux.
Here is a guide to getting started with Kali Linux. First of all, there are two ways to install and use Kali Linux, a complete installation, or in some Virtual Box like VMware or Virtual box. You can download VMware or Virtual Box by clicking on their respective names. I personally prefer Virtual Box because it has almost all the features of VMware and is a freeware (OMFG ITS FREE!). And download Kali from here.
There is only difference of a few steps; that will be added for Virtual Machine users. So, I’m just going to demonstrate for Virtual Box users.
Now a very important step, you have to enable visualization from your BIOS. This is different for all motherboards, so Google how to do it for your specific motherboard. Then just follow the screenshots below.
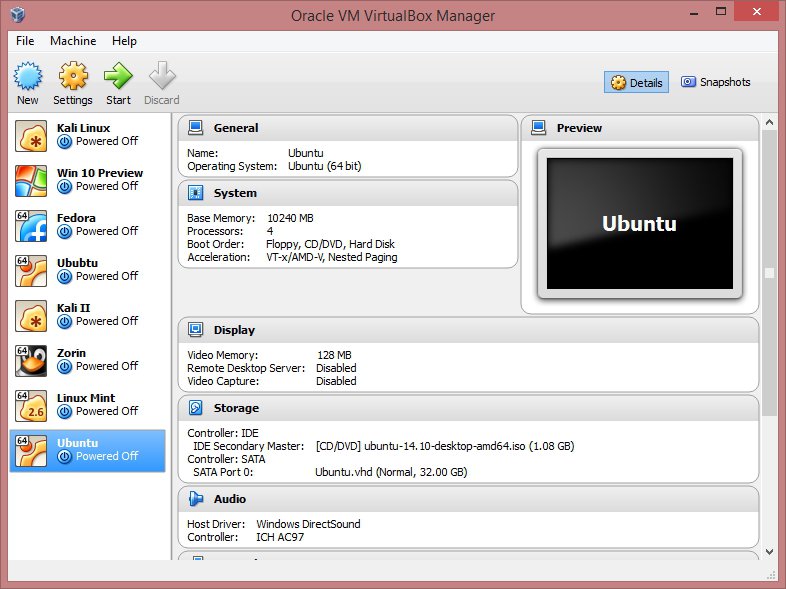
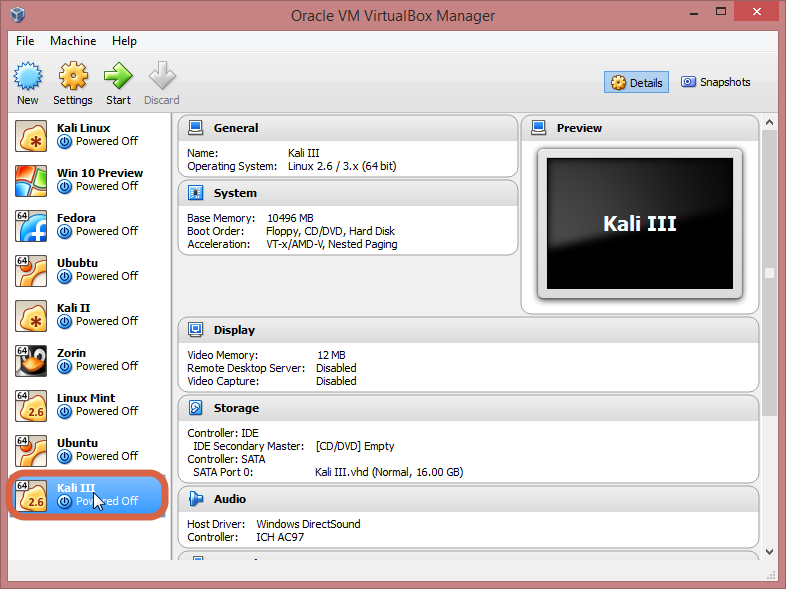
Now that you have Virtual Box and Kali Linux, it’s time to get things going. Open Virtual Box, it’ll look something like this, without the Virtual Machines at the left.
For creating a VM, click on “New“,
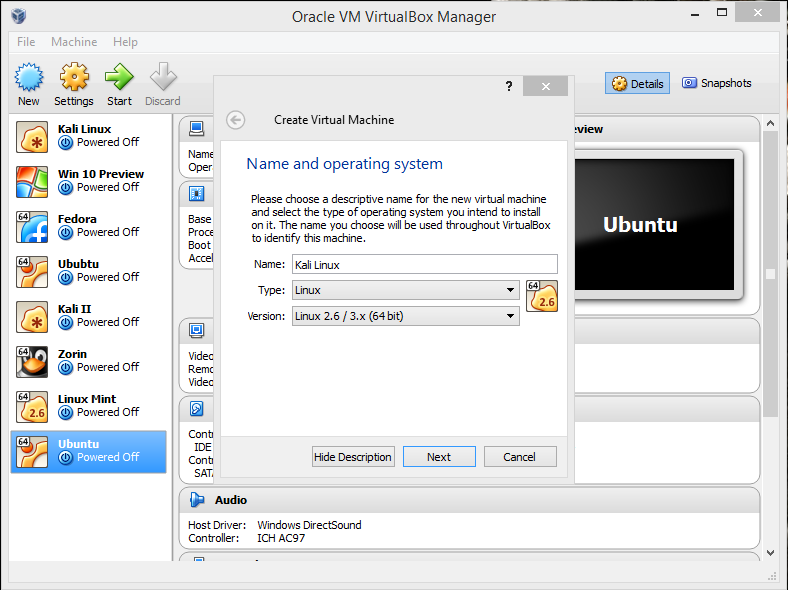
Name it whatever you want to, then click “Next“. You will be prompted to select the amount of RAM you want to reserve for your VM.
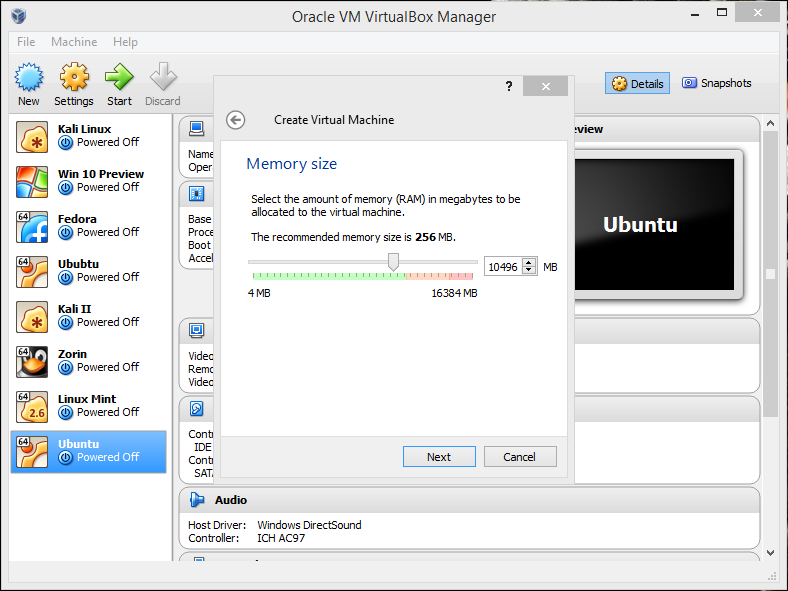
Now, it’ll ask for hard drive space allocation, just leave at the default option, “Next“!

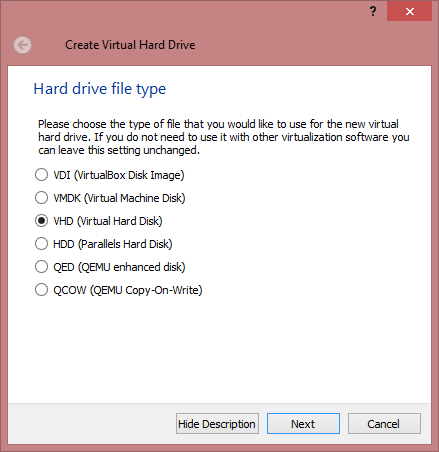
Here, select “VHD“, “Next“,
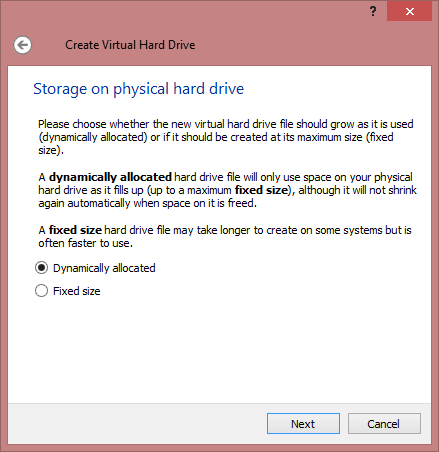
Select “Dynamically Allocated“,
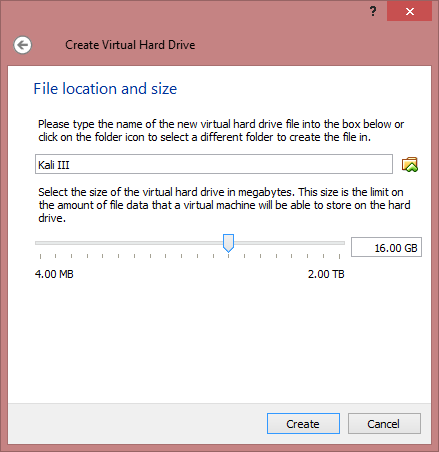
Here, select the desired size of the Virtual Hard disk,
You have successfully created a VM. Bye!
Just kidding…. there’s still a lot.
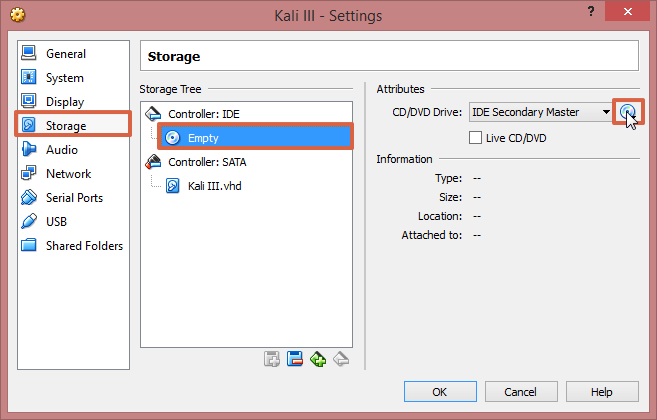
Now, click on settings > storage > click on the cd image at the right hand corner, as shown. Now browse to your downloaded image. Click OK.
It’s finally complete. Click start.
For normal (non-VM) users follow along from here. I will be explaining all the ways you can install and use Kali.
First one is “Live” this option does not save any changes to your Kali account… it’s like uninstalling Kali every time you shut down.
Then, there’s persistence, this one is exactly opposite to the former, this saves all your settings and data.
Now for the most important one for non VM users (at least I think so :3). A prefatory note – please make a bootable flash drive (more than 8gigs is recommended) with the Kali Linux .iso that you download; persistence and encrypted persistence will only work on flash drives.
For persistence, there are many ways to do this, I’m going to describe the Linux method.
Type “gparted /dev/sdb”, you will find “/dev/sdb1 /dev/sdb2” and “unallocated area” right click within the unallocated section, then select new from the drop-down menu that appears. Create a Primary Partition, choose “ext 4” as the file system, and label the partition with the word: “persistence “. Click on “Add” then “Apply” and let the computer format the partition in “ext 4” with the label persistence. When the process is completed open up a terminal window and enter the following:
“mkdir -p /mnt/my_usb”
“mount /dev/sdb3 /mnt/my_usb”
“echo “/ union” > /mnt/my_usb/persistence.conf”
“umount /dev/sdb3”
Reboot and start the machine with Kali and select “Live USB Persistence”.
For encrypted persistence, it’s a very long process… so… will do that in a later post.
Now the last one, install… it’s just as it sounds, it permanently installs Kali Linux… this is for people who wish to use Kali as their daily driver.
Now, that you have booted into kali, here are some useful things you could do starting up and some fixes for some common problems.
First, let’s update & upgrade our installation,
Type “apt-get clean && apt-get update && apt-get upgrade –y”.
Another major problem I’ve noticed is the sound is always muted, to fix this, open a terminal window, type “apt-get install alsa-utils –y”, then right click on the small volume icon on the top right corner and select Sound Preferences, Change the Output volume slider to ON. Done!
Now, go do your own thing in Kali, explore, hack, test, crack hashes and burn the sh*t out of your CPU!! while I go be a genius billionaire playboy philanthropist. (yes I’m part time Iron Man) (Jarvis runs on UNIX, don’t you?… He says yes in a very rhetorical fashion).
Comments
Post a Comment